Comprehensive Guide: Essential Drone Travel Tips
Share
Hello all!
I’d like to give you more than a few tips on how to enjoy flying and shooting with your drone while hopefully mitigating the loss of one in a foreign country! I hope you find it useful for your next trip, whether you are a beginner or a pro.
Phase 1:Preparation (Before leaving your house!)
A. Practice and Prep those Moves
This will save you some battery life and you can do multiple takes more efficiently. For both photo and video, composition is definitely key! Mastery of your drone will come a long way as you travel more.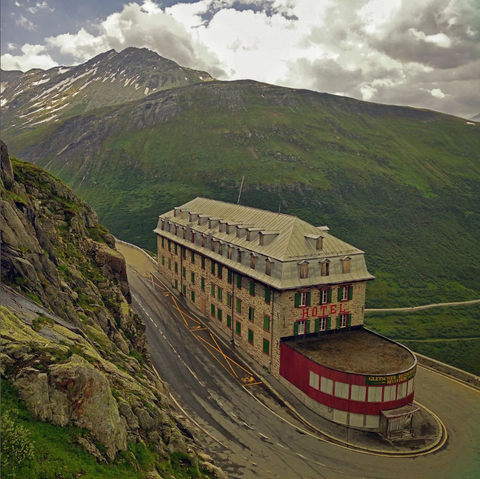
B. Get a Bag, Travel Light!
Yes, yes, I know you bought accessories for your drone but traveling involves an activity called WALKING and lots of it! I make sure they fit in my bag,some essential gear imo – drone battery cases (for safety and airports), storage for your files, and spares cables/props.
C. Research Drone Laws and Battery Guidelines
As boring as this sounds, we need to look up some legislation since every country varies in drone regulations. Keep in mind that other places need permits to fly while certain cities also have specific by-laws where you just can’t fly anywhere at all!
D. Micro-Planning Your Shoot (Sun Direction, Weather, Crowd)
It is ideal to plan when and where you will fly your drone. Last time I checked, the sun moves around quite a bit… and so you don’t want to be taking pictures of a cool building with the sun right behind it. Your drone flight itinerary may also depend on which days will have a forecast of rain/lightning. Flying on weekdays may give you less people to worry about but then more cars on the roads if shooting a city setting.
Phase 2: PRE-Pre-Flight
A. Charge!!!
Have you ever driven to the perfect spot with perfectly clear skies only to realize your Remote Control hasn’t been charged? OCD can be pretty useful here to ensure you’ve fully charged your drone, RC, goggles and phone/tablet. Also keep in mind that some countries won’t have a 3-prong wall outlet (buy a converter or borrow one from your hotel) and that a few remote islands that I’ve been to have zero electricity. Power banks are a must for these trips as your back-up power source.
B. Snacks and Hydration
Stressing out about crashing your drone makes you hungry. Stressing out about your family wanting to leave you behind because you haven’t nailed that perfect shot/clip makes you thirsty. I don’t recommend alcohol use prior to drone flight, but do eat and drink whenever you can!
C. Wind and Weather Forecast
As drones are normally flown outdoors, I recommend looking into a few weather sites before leaving your resort’s room. Strong winds on elevated ground and ocean beachfronts can be pretty scary.
D. B-Roll
If you’re into vlogging or have seen the top Youtube vloggers, they incorporate a lot of supplemental footage to immerse the viewers in your specific location. This is both resource-dependent (get your spouse to film you, you’ll need an extra camera or two) and time-dependent (preparing gear and setting up tripods/Ronin stabilizers). It can make for some awesome storytelling, however! To give examples: get shots of leaving your room, taking the transit and getting off, walking to drone flight location, setting up and turning on your drone, initial flight and hand-catching your drone. If interested, Youtuber Peter McKinnon is a master of B-roll.
Phase 3: Actual Pre-flight
A. Don’t Force It!
Drones may be worth every penny, but they are still pretty expensive for lay people like us. You may be thinking “I’ll never come back to this country so I have NO CHOICE but to fly regardless of conditions”. Cities have a lot of interference especially when your drone is closer to the ground and will screw up your drone’s positioning systems. So, let your drone live to fly another day when unfavorable conditions are present.
B. Safety
Now, this won’t be a legit guide at all if I didn’t mention the dreadful “S”-word. There’s bystanders, birds, buildings, branches, balloons, bunnies and all sorts of crazies we all need to consider before lifting off. Some people are generally curious about drones – feel free to share your love for drones with them! I’ve had kids swarm all over me as I show them some live footage. On the other hand, be respectful to those who are disinterested. We are responsible for the safety of everyone and everything around us and our beastly drones.
